
 |
| Foyer Progress |
 |
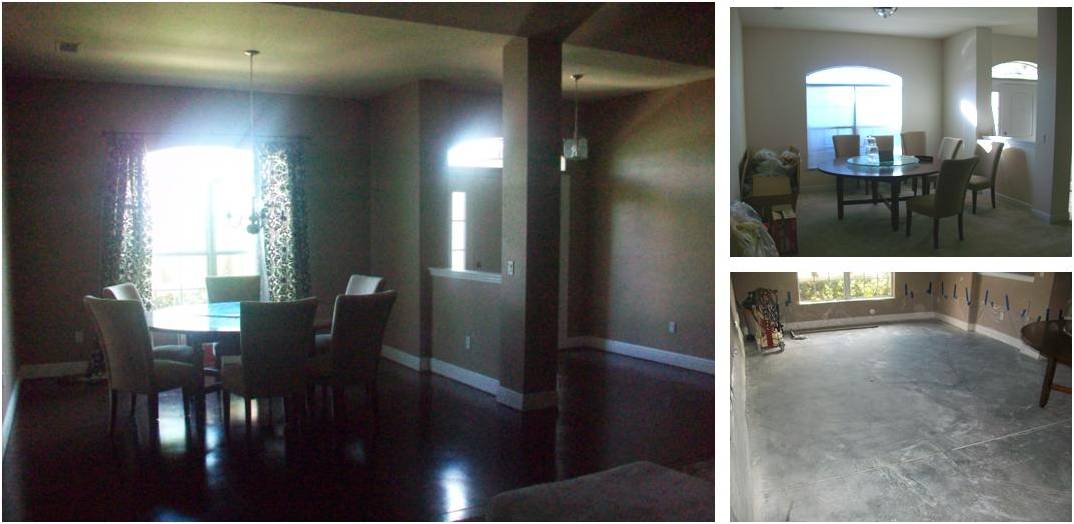
| Dining and Foyer progression with my baby practicing duck and cover! lol |
I had already done my research on what needed to happen, thanks to a few blogs and their own trails and tribulations (Anythingology was the best).
First, we started out by removing the carpet, padding and tacking around the perimeter. We only focused on the main living areas which consist of the foyer, dining, sitting, family rooms and hallway. This was easy! WE thought we were going to tackle this ourselves, but naah...did not quite work out that way.
The next step was to decide whether I wanted to tackle the acid process or the grinding process. They both have their own pros and cons but both are messy. I just did not want to deal with the chemicals! But we really never made it to that step. I did get as far as reserving a concrete grinder, but never picked in up. Extracurricular activities just never allowed us to make the time to get it done. So we decided to hire help. Since I had done my research I knew that these guys knew what they were doing. Like I said, I learned a couple things from them too. They actually did both grinder and chemical processes in exactly that order.
So the last step was to let go and let them and we are soooo glad we did.
 |
| Dining Room Progress |

You can see I chose a high gloss vs a matte finish. For me it makes the paint extra special and creates really nice reflections on the floor. Now of course just like with any dark wood, you can see every smudge, foot print, and piece of dust. I just use a swiffer-jet for everyday and put a mop to it on the weekends with a little olive oil in the water. That's the great thing about it....I do not have to worry about it getting wet. The spills just sit right on top. It is very slippery when wet though so you got to get it when it happens. The kids love to slide around in their socks too.

 | |
| Sitting and Family Room Progress |
 |
| Sitting Room Progress |
 |
| silicone filler |
 |
| Sitting Room and back side of feature wall in Family Room |
So this is my new floor and I love them!!!
Also I wanted to let everyone know that my twin sister has finally decided to create her own blog and tell her story. She is 14 minute older and we are identical! I would really love it if you can stop by her blog sometime and she would too.
Love you Punkin!
Sissy I love your floors to...I was nervous, but you were right all along. Thanks for the shot out on the blog. Love you to!
ReplyDeleteI was just curious to find out the state you lived in......those guys did an excellent job! Can u provide their information?
ReplyDeleteI am in central Florida!
DeleteI love in Central Florida (Winter Garden to be exact). We are thinking about concrete for our bedroom. Either white or black. We had water come in and the laminate (which I didn’t like) is halfway ripped up. We fixed the water issue and are deciding how to proceed. I can see lots of old carpet glue and need a game plan. I’d love to know who you hired for your floors. I know it’s been 6 years, but maybe they are still around!?
ReplyDeleteSorry, that should say I LIVE in Central Florida. Although I do love it here too! 😊
Delete